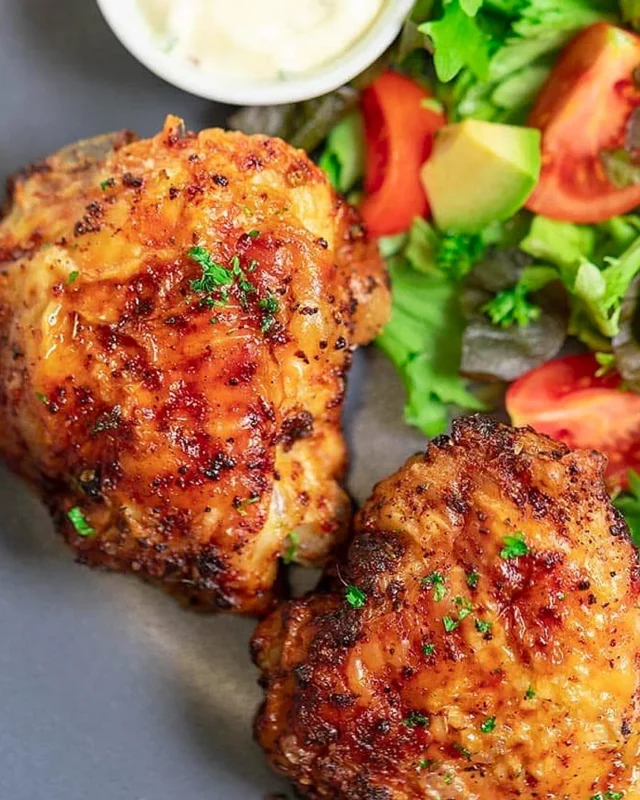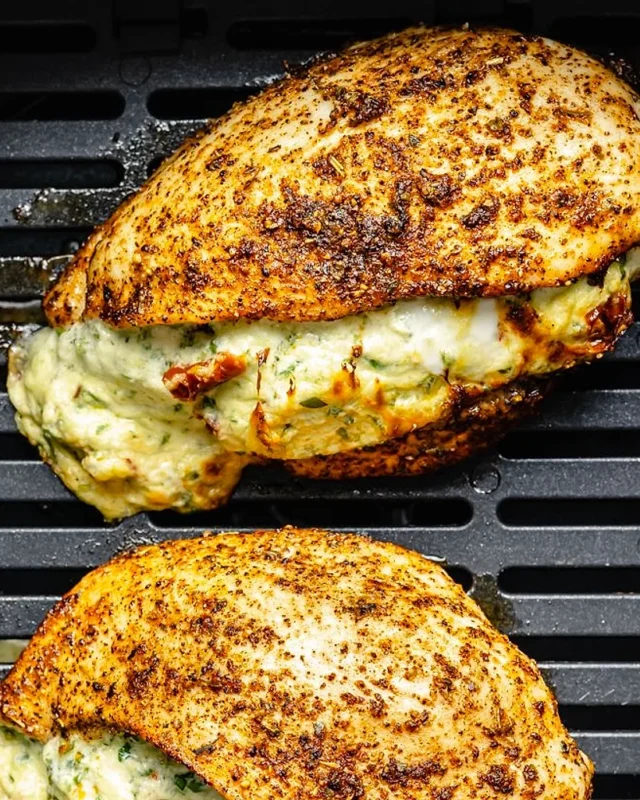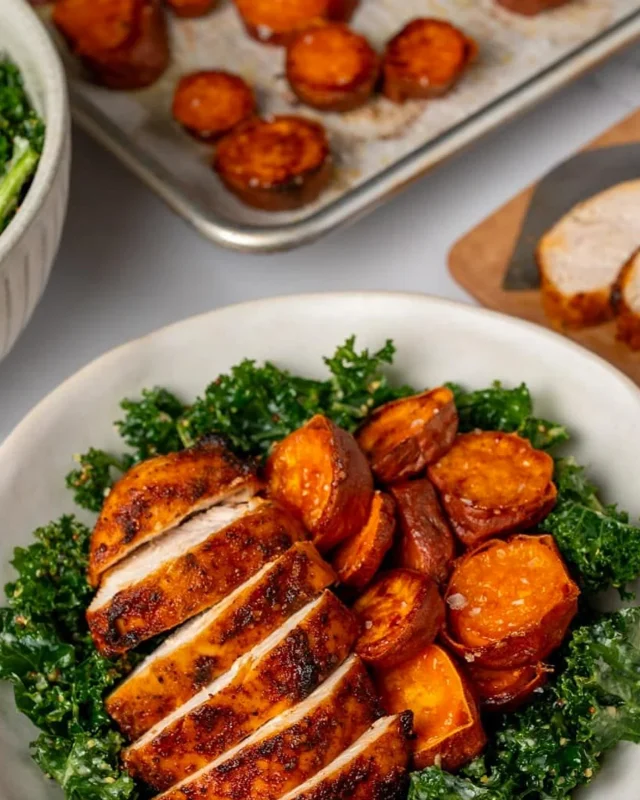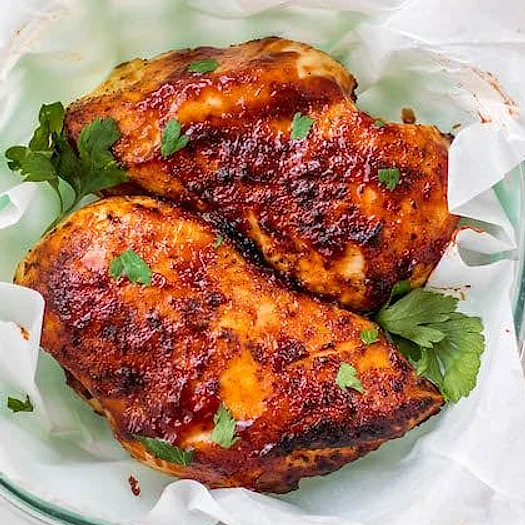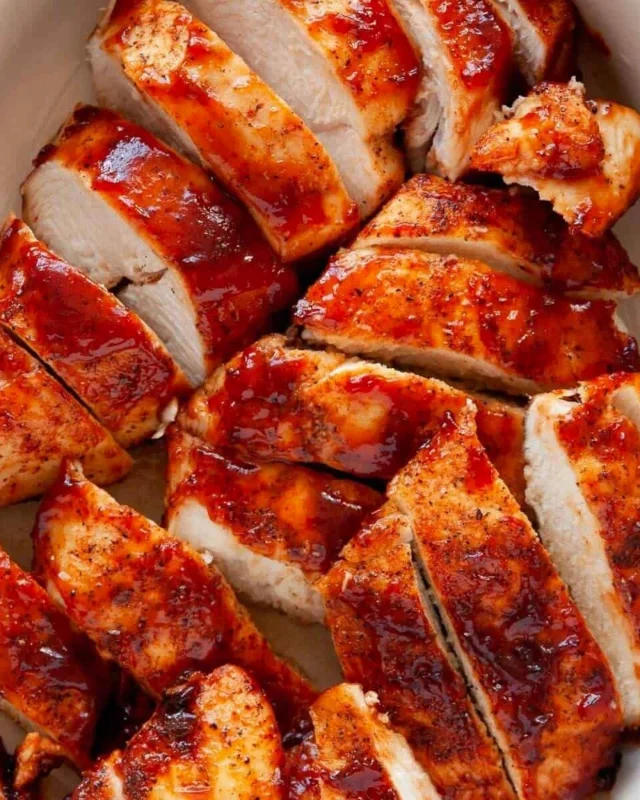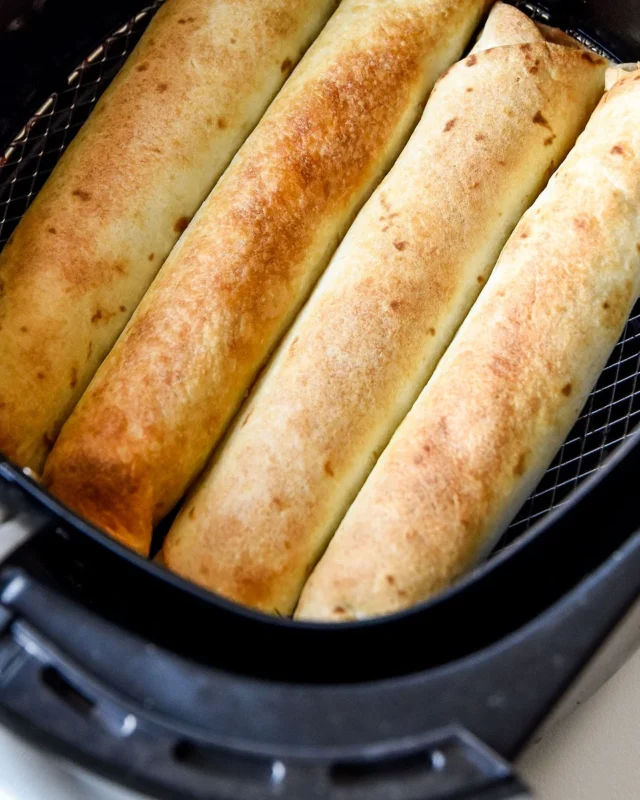
These baked chicken drumsticks are crispy, smoky and wonderfully juicy inside. They need only four seasonings and one sheet pan.
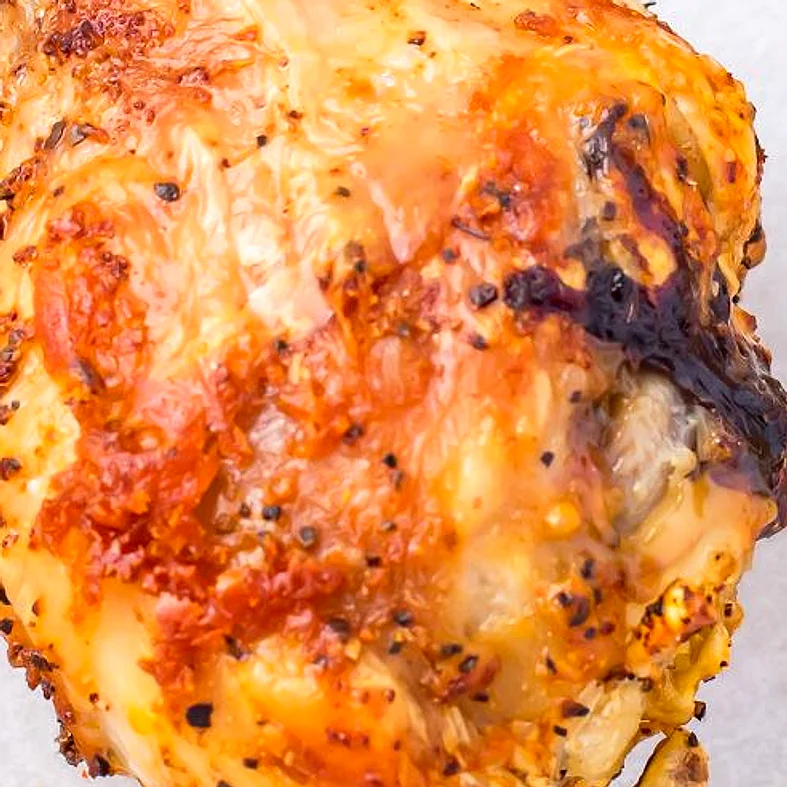
We rely on this method when we want dinner on the table without fuss. The skin turns golden while the meat stays tender around the bone.
Why you’ll love this recipe
This is my go-to on busy nights because the prep takes about five minutes. The smoky paprika and garlic make the chicken taste like it spent hours marinating. Everyone at the table reaches for seconds.
Ingredients
Full quantities are in the recipe card below.
- Chicken drumsticks: the main protein; bone-in pieces stay juicier than boneless. Substitute with chicken thighs, baking time may increase slightly.
- Ground black pepper: adds gentle heat and sharp aroma. Substitute with white pepper for a milder, earthier flavor.
- Smoked paprika: gives color and a campfire note. Substitute with sweet paprika plus a pinch of cayenne.
- Garlic powder: builds savory depth that fresh garlic can burn on high heat. Substitute with granulated garlic.
- Salt: seasons the meat and helps the skin crisp. Substitute with kosher salt, using a little more by volume.
- Cooking oil (optional): helps the spices stick and encourages browning. Substitute with melted butter or avocado oil.
How to make baked chicken drumsticks
Step 1: Dry the drumsticks
Pat the drumsticks completely dry with paper towels. We find that dry skin browns far better than damp skin.
Step 2: Season generously
Mix the salt, pepper, smoked paprika and garlic powder in a small bowl. Rub the mixture over every side of each drumstick.
Step 3: Rest briefly
Let the seasoned chicken sit for 15 minutes at room temperature. This helps the salt penetrate and the meat cook more evenly.
Step 4: Preheat and arrange
Heat the oven to 200°C (400°F). Place the drumsticks on a lined baking tray with space between them so hot air circulates.
Step 5: Bake until golden
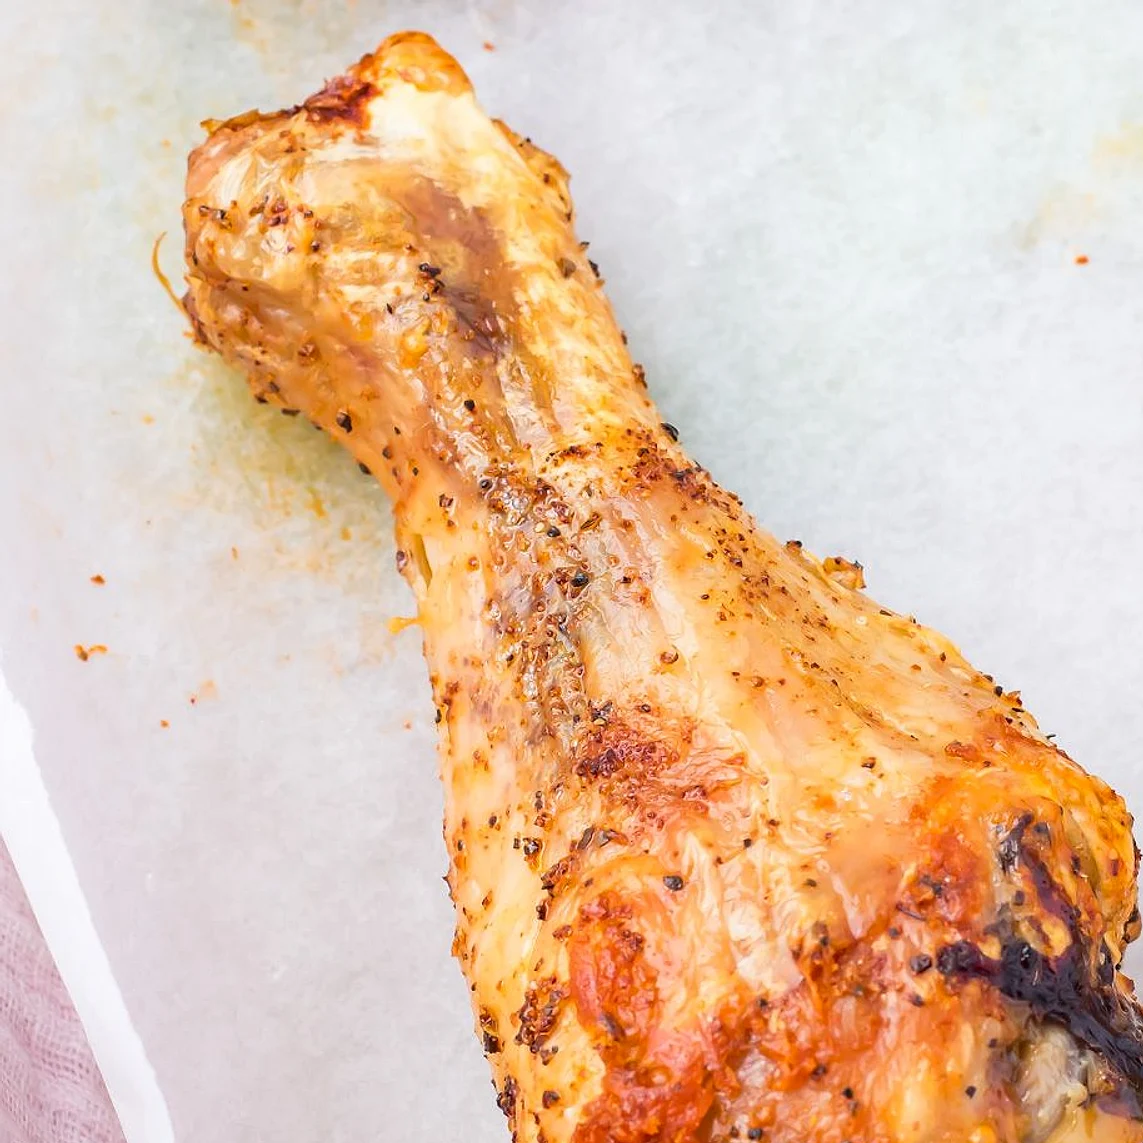
Bake for 40 to 45 minutes, turning once halfway through. The skin should be deep golden and crisp.
Step 6: Check doneness
Insert a thermometer into the thickest part, away from the bone. It should read 74°C (165°F) before you serve.
Tips
- Dry thoroughly: Surface moisture steams the skin instead of crisping it. Give the pieces a second pat before seasoning.
- Use a rack: Elevating the drumsticks on a wire rack lets heat reach the underside. The bottoms stay crisp too.
- Don’t crowd the tray: Overlapping pieces trap steam. Use two trays if needed.
- Adjust salt to taste: Start with half a teaspoon and add more after tasting. Salt needs vary with chicken size.
- Check with a thermometer: Color alone can mislead. Trust the reading for safe, juicy meat.
- Let them rest: Five minutes of rest keeps the juices in the meat rather than on the plate.
Storage
Cool leftover drumsticks within two hours and refrigerate them in an airtight container. They keep well for up to three days.
To reheat, place them in a 180°C (350°F) oven for about 10 minutes. This restores crispness far better than a microwave.
Variations
Honey garlic drumsticks
Brush the cooked drumsticks with a mix of honey and a little soy sauce during the last five minutes. The glaze caramelizes quickly, so watch closely.
Lemon herb drumsticks
Add dried oregano and the zest of one lemon to the seasoning. The bright citrus cuts through the richness of the skin.
Frequently Asked Questions
How long do baked chicken drumsticks take in the oven?
At 200°C (400°F), most drumsticks take 40 to 45 minutes. Larger pieces may need up to 50 minutes. Always confirm with a thermometer reading 74°C (165°F).
Should I bake chicken drumsticks covered or uncovered?
Bake them uncovered. Covering traps steam, which keeps the skin soft. An uncovered tray lets the skin turn golden and crisp.
Do I need to flip chicken drumsticks while baking?
Yes, turn them once halfway through. This ensures even browning on all sides and prevents one side from drying out against the pan.
Can I make baked chicken drumsticks ahead of time?
You can season them up to 12 hours ahead and refrigerate them uncovered. Bake them straight from the fridge, adding a few minutes to the cooking time.
What sides go well with baked chicken drumsticks?
Roasted potatoes, steamed green beans and a simple green salad work well. Their mild flavors balance the smoky, peppery seasoning on the chicken.
Baked Chicken Drumsticks
 Recipe byChloe Martin
Ingredients
- 1.1 kg chicken drumsticks (about 2.5 lbs)
- 1 teaspoon ground black pepper
- 1/2 teaspoon smoked paprika
- 1/2 teaspoon garlic powder
- 1/2-1 teaspoon salt
Instructions
- Pat the chicken drumsticks completely dry with paper towels.
- Mix the salt, black pepper, smoked paprika and garlic powder in a small bowl.
- Rub the seasoning evenly over all sides of each drumstick.
- Rest the seasoned chicken at room temperature for 15 minutes.
- Preheat the oven to 200°C (400°F) and line a baking tray with parchment.
- Arrange the drumsticks on the tray with space between them.
- Bake for 40 to 45 minutes, turning once halfway through, until the skin is golden.
- Check that the thickest part reads 74°C (165°F), then rest for 5 minutes before serving.
Notes
- Use half a teaspoon of salt first, then add more to taste.
- Bone-in drumsticks stay juicier; boneless thighs need less time.
- Leftovers keep in the fridge for up to 3 days.