I make this when a chocolate craving hits at nine o’clock on a weeknight and I’m not about to drive to the store for anything. It’s one mug, one spoon, and about five minutes from start to finish. Most of what goes in it is probably already in your cupboard: flour, sugar, cocoa, a bit of oil and an egg.
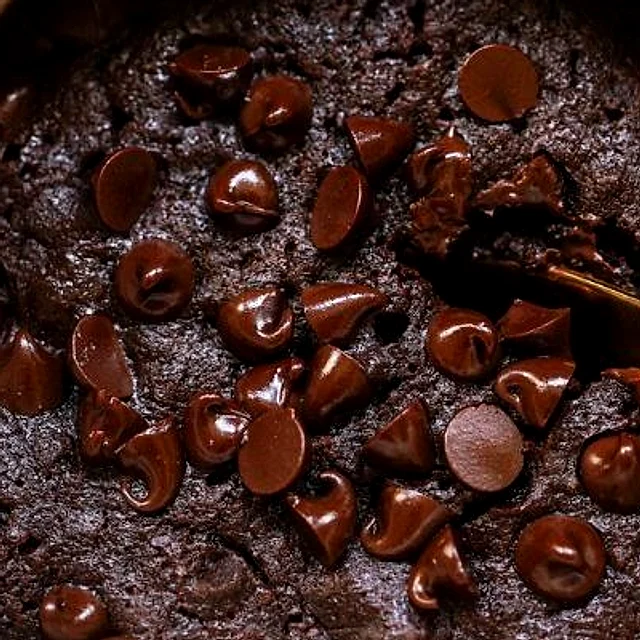
It’s cheap, it’s quick, and it tastes like a small square of brownie that got a little too comfortable in the microwave. Here’s how I make it, plus the air fryer version for when you want those crisp edges.
What’s in a Brownie Mug Cake?
The base is simple: flour gives the cake structure, sugar adds sweetness and helps keep it moist, and cocoa powder is where the brownie flavor comes from. The egg binds everything and gives the cake lift, while oil and milk keep the crumb tender instead of dry and rubbery. A little baking powder makes it rise, and a pinch of salt sharpens the chocolate. Vanilla rounds it all out, and the chocolate chips give you pockets of melted goo.
Budget-Saving Tips
- Use plain all-purpose flour and regular granulated sugar you already have on hand instead of buying specialty baking supplies.
- Buy cocoa powder in a larger tub; it lasts for months and a single mug uses only a couple of tablespoons.
- Skip the chocolate chips if you’re out and use a few chopped squares from a bar you already own.
- Use vegetable oil in place of melted butter, which is usually cheaper and keeps the cake moist.
- Make it in a mug you already own rather than buying a special ramekin.
Variations to Try
- Peanut butter swirl: Stir a teaspoon of peanut butter into the batter for a salty-sweet twist.
- Mint chocolate: Add a drop of peppermint extract in place of the vanilla for a cool, chocolatey finish.
- Cinnamon kick: Stir in a pinch of cinnamon for a warm, slightly spiced cake.
- Double chip: Save an extra spoonful of chips to press onto the top before cooking for a gooey crust.
Serving & Topping Ideas
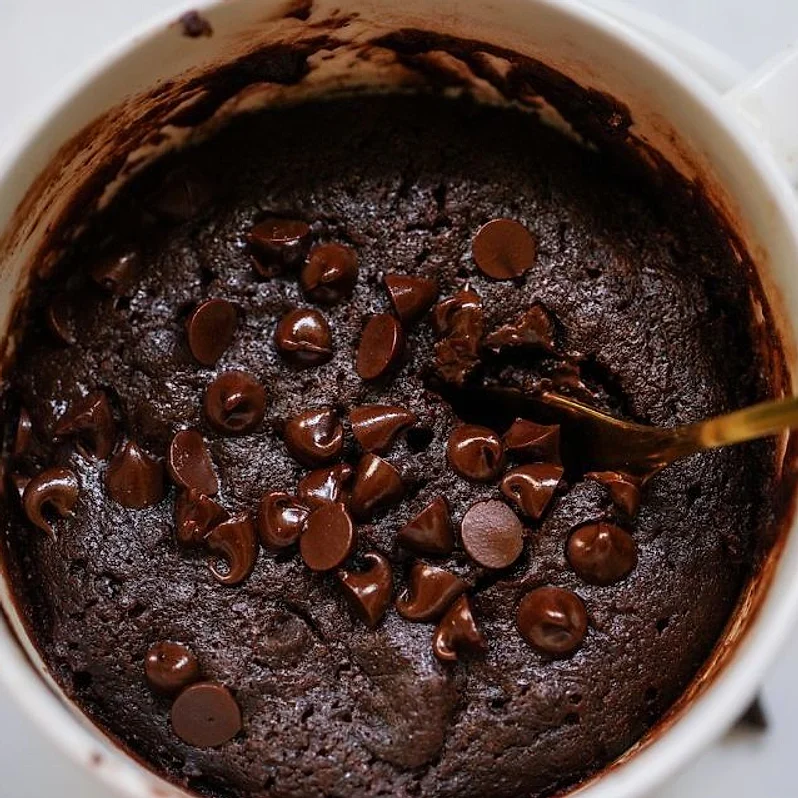
Eat it straight from the mug while it’s still warm, or top it with a spoonful of vanilla ice cream, a dollop of yogurt, a few fresh berries, a drizzle of peanut butter, or a light dusting of powdered sugar if you have it.
How to Store
Mug cakes are best eaten right away, while the center is still soft. If you have leftovers, cover the mug and keep it in the fridge for up to two days. Reheat for 10 to 15 seconds in the microwave before eating.
I don’t recommend freezing a finished mug cake because the texture turns dense. If you want to prep ahead, mix the dry ingredients in a zip-top bag and store it at room temperature for up to a month, then add the wet ingredients when you’re ready.
How to Make Brownie Mug Cake Microwave – Step by Step
1. Grab a large mug, at least 12 ounces, so the batter has room to rise. Crack the egg into it and whisk well until smooth and a little frothy.
2. Add the milk, oil and vanilla, and whisk again until the mixture looks glossy and even.
3. Stir in the flour, sugar, cocoa powder, baking powder and salt. Mix until no dry streaks remain. The batter should be thick but pourable, about the consistency of brownie batter.
4. Fold in 1 tablespoon of the chocolate chips, saving the rest for the top.
5. Sprinkle the remaining chocolate chips over the surface so they sit on top of the batter.
6. Microwave on high for 60 to 90 seconds. The cake should be puffed and set around the edges, with a slightly soft, wet-looking center.
7. Let it rest for 1 minute before eating. The center keeps cooking as it cools, so it stays fudgy.
8. For the air fryer version, pour the batter into a greased 6-inch ramekin or small oven-safe dish, top with the chips, and air fry at 320°F for 8 to 10 minutes until the edges are set and a toothpick comes out with a few moist crumbs.
Microwave Brownie Cake in a Mug (Plus Air Fryer Version)
 Recipe byChloe Martin
Ingredients
- 1 large egg
- 3 tablespoons milk
- 2 tablespoons vegetable or canola oil
- 1/4 teaspoon vanilla extract
- 4 tablespoons all-purpose flour
- 3 tablespoons granulated sugar
- 2 tablespoons unsweetened cocoa powder
- 1/4 teaspoon baking powder
- 1 pinch salt
- 2 tablespoons semi-sweet chocolate chips, divided
Instructions
- Crack the egg into a large microwave-safe mug, at least 12 ounces, and whisk until smooth and slightly frothy.
- Add the milk, vegetable or canola oil and vanilla extract, and whisk until glossy.
- Stir in the flour, granulated sugar, cocoa powder, baking powder and salt until no dry streaks remain.
- Fold in 1 tablespoon of the chocolate chips.
- Sprinkle the remaining chocolate chips over the top of the batter.
- Microwave on high for 60 to 90 seconds until puffed and set around the edges with a slightly soft center.
- Let rest for 1 minute before eating.
- For the air fryer version, pour the batter into a greased 6-inch ramekin, top with chips, and air fry at 320°F for 8 to 10 minutes until set at the edges.
Notes
- Microwave times vary by wattage; start with 60 seconds and add 10 seconds at a time.
- Do not overmix, or the cake can turn tough.
- Use a mug at least 12 ounces so the batter does not overflow.